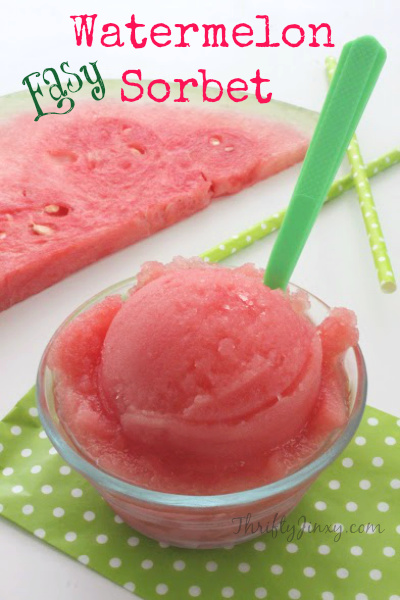
Easy Watermelon Sorbet
With summer in full swing, there is nothing like a tasty, refreshing and COLD treat to cool off and enjoy. This Easy Watermelon Sorbet Recipe is easy to make. The most time intensive part of the recipe is cutting up the watermelon.
This sorbet makes a delicious after-lunch or after-dinner dessert. It’s also yummy for a refreshing snack at any time!
And if you just happen to have a party and are wondering what to do with leftover watermelon, this is your perfect solution!
You won’t have to feel bad about tossing the watermelon once it goes bad and instead will have it turned into a delicious frozen watermelon treat in your freezer.
An extra nice thing about this recipe is that it lets you make watermelon sorbet without an ice cream maker.
All you need is a 9×13 pan to let it freeze in your freezer. A pan with a lid makes time in the freezer a lot easier, but you can also cover your pan with plastic wrap or foil.
To puree the watermelon before freezing, you can use a blender or you can use a food processor.
If you’re planning a summer BBQ or backyard party, this is a dessert that can be made many days before your event and stored in the freezer. It does a good job of cooling everyone off if the weather gets hot!
Easy Watermelon Sorbet Recipe
Watermelon Sorbet Ingredients:
1 cup Sugar
1 cup Water
8 cups Seedless Watermelon
2 tbsp Lemon Juice
How to Make Watermelon Sorbet:
In a small pan, add sugar and water and bring to a boil.
Cook until sugar is dissolved, then set aside to cool.
Puree watermelon in batches and place in a large bowl.
Add sugar syrup and lemon juice and mix well.
Place in a 9×13 dish, cover and place in the freezer until firm.
Puree frozen mixture before serving.
If you’re serving outside you may want to serve your sorbet in plastic cups, but if you’re planning a more special meal, sorbet looks really pretty served in bowls.
Easy Watermelon Sorbet Recipe
This Easy Watermelon Sorbet Recipe makes a perfect dessert or afternoon treat, especially on a hot summer day!
Prep Time: 10 minutes
Additional Time: 4 hours
Total Time: 4 hours 10 minutes
Ingredients
- 1 cup Sugar
- 1 cup Water
- 8 cup Seedless Watermelon
- 2 tbsp Lemon Juice
Instructions
In a small pan, add sugar and water and bring to a boil.
Cook until sugar is dissolved, then set aside to cool.
Puree watermelon in batches and place in a large bowl.
Add sugar syrup and lemon juice and mix well.
Place in a 13×9 dish, cover and place in the freezer until firm.
Puree frozen mixture before serving.
Thank you to https://thriftyjinxy.com/easy-watermelon-sorbet-recipe/ for this wonderful recipe!